The Rachio smart sprinkler controller has been on my purchasing radar for some time. It’s always a good sign when fellow IoT enthusiasts bring up the Rachio sprinkler controller in gadget focused conversations. I’ve delayed my own Rachio installation because of the many current and upcoming projects around my home. Irrigation has taken a low priority.
A family member recently mentioned that his hedges, basil plant and lemon tree were drying-out every time he went away for an extended period of time. I remembered that I helped him install an irrigation system in 1998 when he first built their house. “Why don’t you use your sprinkler system?” was my question. “It leaks, waters when it rains, and doesn’t allow me to control it remotely” was the answer.
OK then. I logged onto Amazon, ordered the Rachio 8 zone generation 2 controller, and set about designing his replacement irrigation system.
The basic requirements were:
- remote control
- no watering during or immediately after rain
My thoughts were to also cover-off the following desirable inclusions:
- solenoid (valve) protection from the elements
- fitting all valves into 1 tidy and covered plastic pit
- a master valve to protect against downstream leaks
- serviceable design allowing for the replacement of individual parts
The Rachio gen 2 covers all of the basic requirements, and the desirable inclusions are met in combination with the manifold design and build.
The installation was split into 4 distinct areas of work:
- controller replacement (Rachio gen 2)
- custom pvc manifold build and solenoid replacement
- outlet and whole-of-system leak testing, tuning and pipe replacement (as needed)
- covered solenoid manifold pit fit and finish
Controller replacement (Rachio gen 2)
The “Lawn Genie” hadn’t been used for over 5 years. Victoria (Australia) had gone through severe drought and water restrictions in the past, and the family member had to give up on their once lush green gardens.
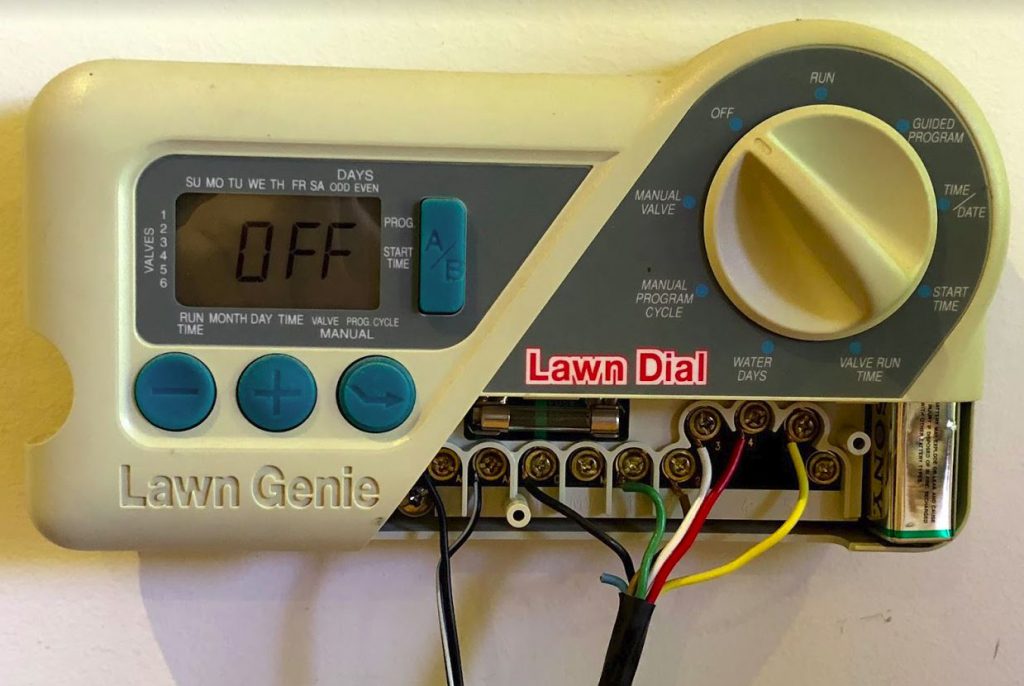
We confirmed that the 7 strand irrigation lead was still in good working condition and did not need replacement. I unscrewed the valve and power leads, and 3 screws later, the “Lawn Genie” was off the wall.
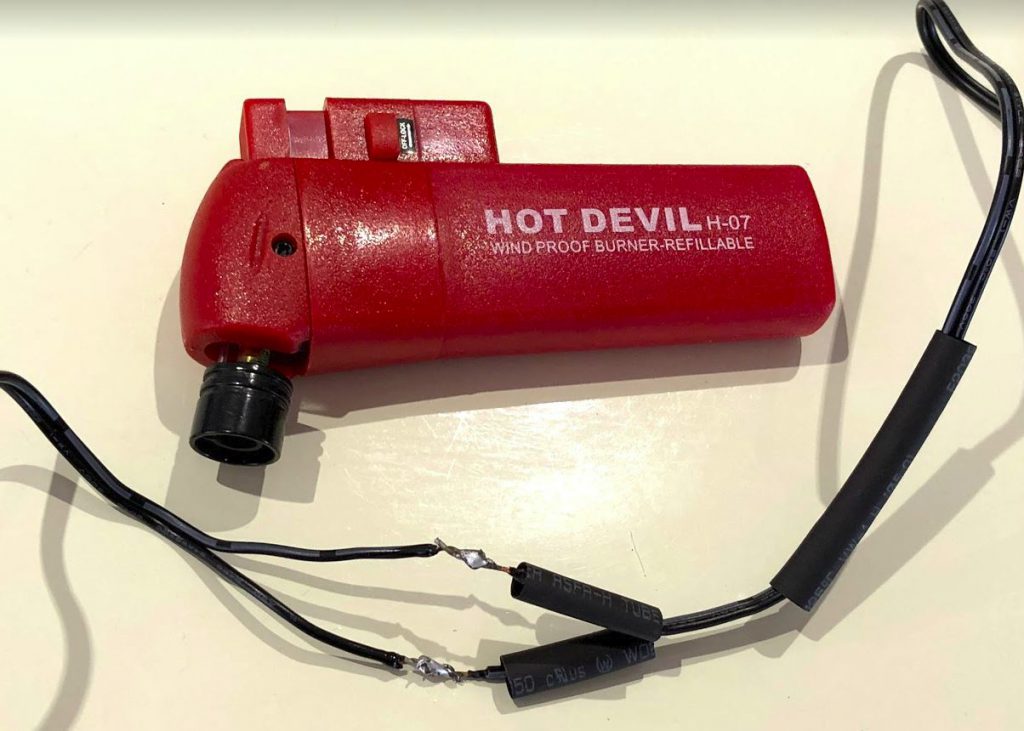
I had researched that the Rachio did not come with a 110-230v switching power supply. I purchased a 230v 24AC 1.0AMP from Jaycar electronics for $26. Australian buyers of the Rachio system need to factor in this additional cost and effort into their project.

A quick cut of the included power lead, and some tinning of the leads with a soldering iron prepped both the new power supply, and the Rachio plug for joining. Some solder, heat shrink and mini blow torch did the trick.
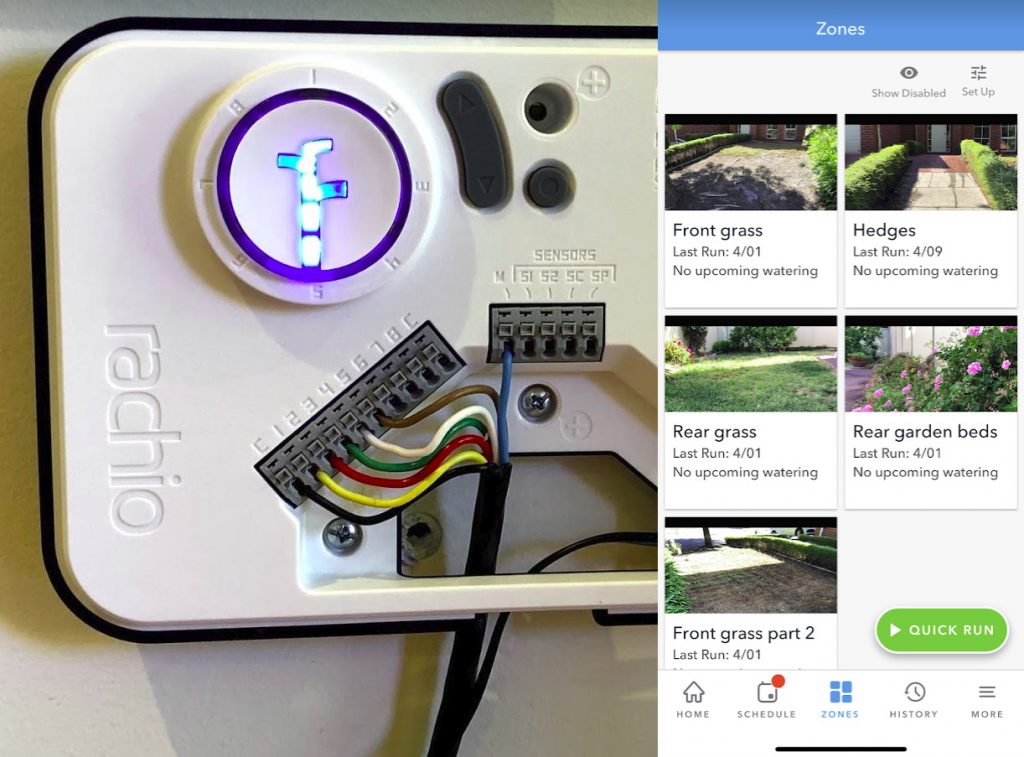
The 7 strand irrigation lead was cleaned up and press fitted to the Rachio. I had heard that the fittings were tough to work with, but in my experience, a large flat-head screwdriver was able to easily apply enough force to open the points for the cable to be crimped.
After a quick cleanup of the wall, and three new screw holes, the Rachio Iro Gen 2 irrigation controller was mounted and powered on.
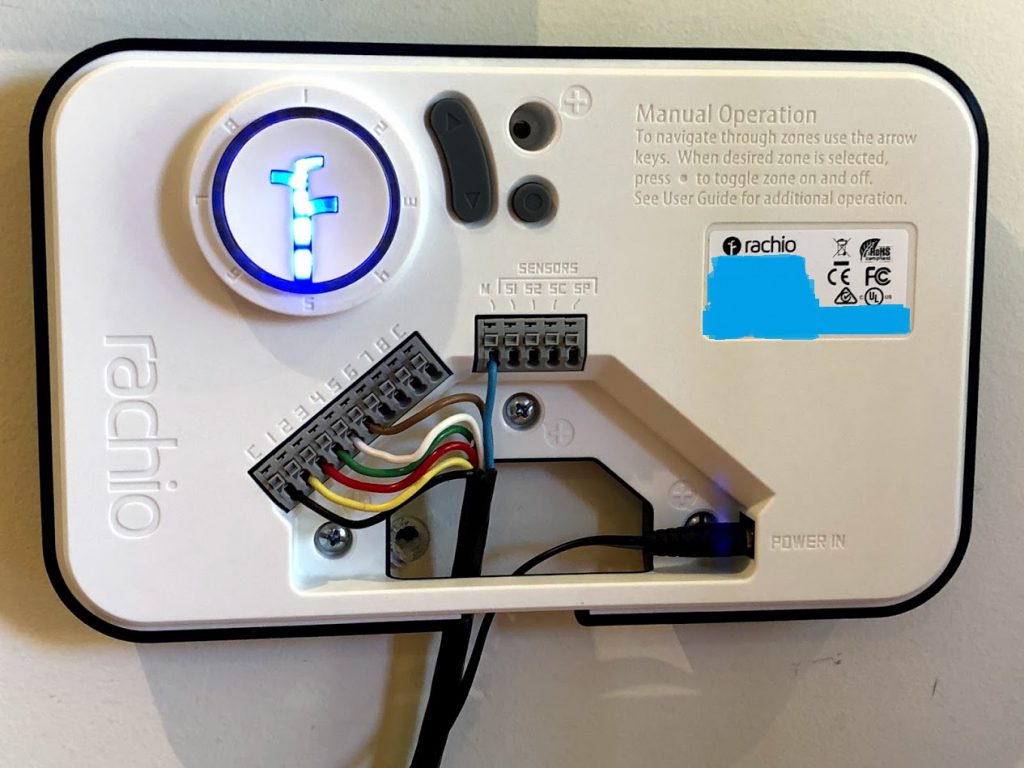
The setup process was very simple and worked the first time. Rachio Gen 2 buyers need to remember that a 2.4Ghz wifi network is required.
Custom pvc manifold build and solenoid replacement
Regrettably, when we first mounted the irrigation system many years ago, we left it exposed to the elements. After 19 years of the harsh Australian sun, wind, rain etc, the whole system had developed many leaks.
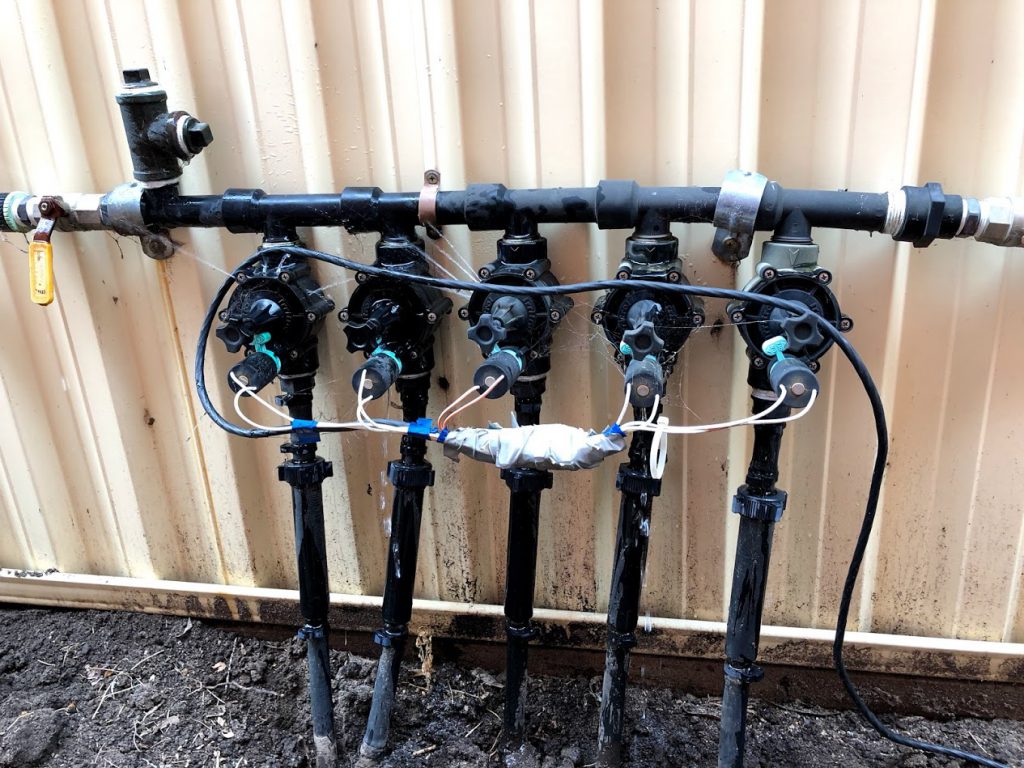
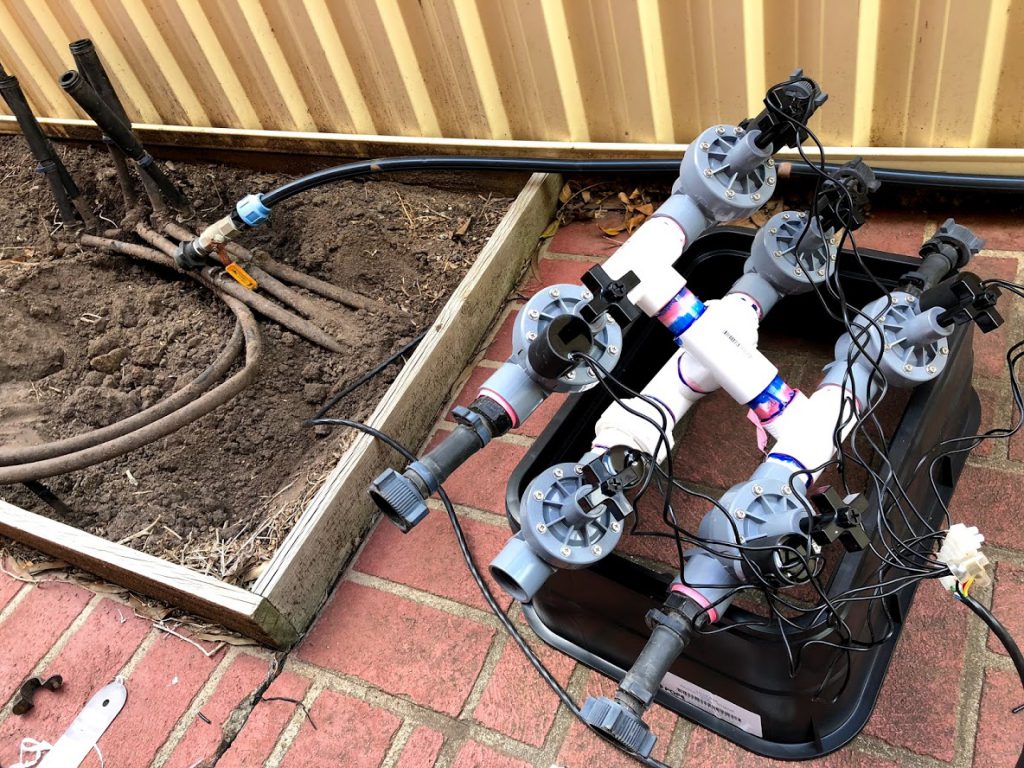
I definitely wanted to follow the industry standard of covering the setup from any type of exposure. I bought the biggest irrigation pit from Bunnings, but was surprised at how small it still was.
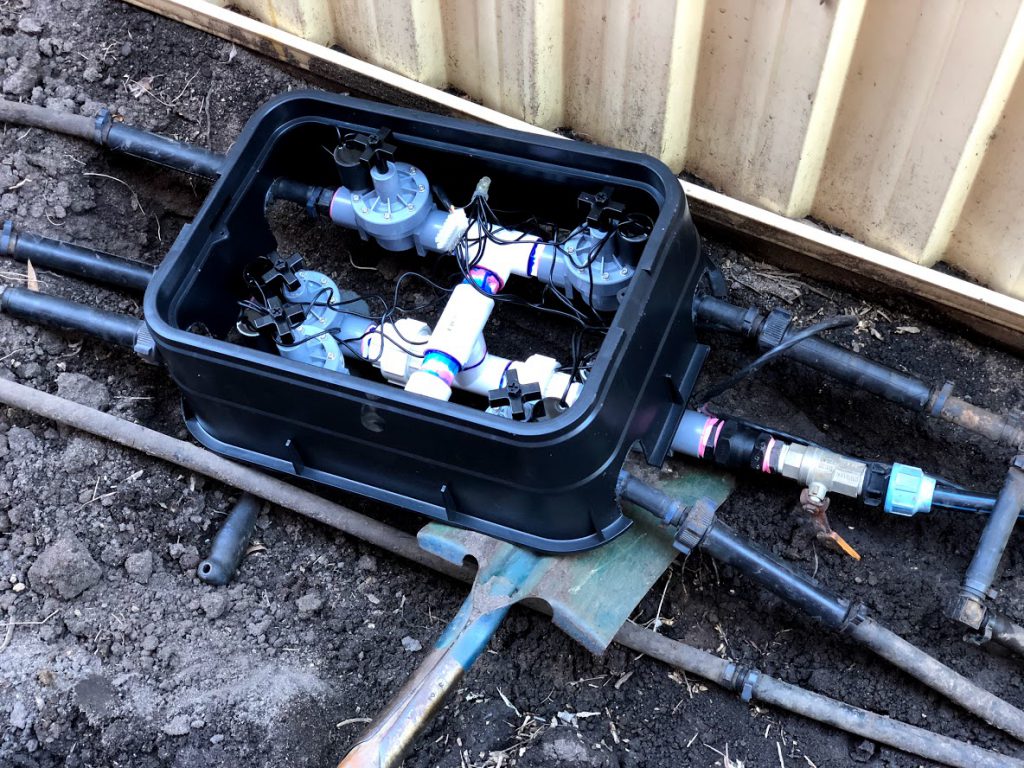
I had to test fit the pvc plastic fittings several times before I came up with a design that allowed for 6 valves (5 zones + 1 master) to fit into the space, and allow for easy maintenance.
Priming and gluing PVC is one of life’s joys.
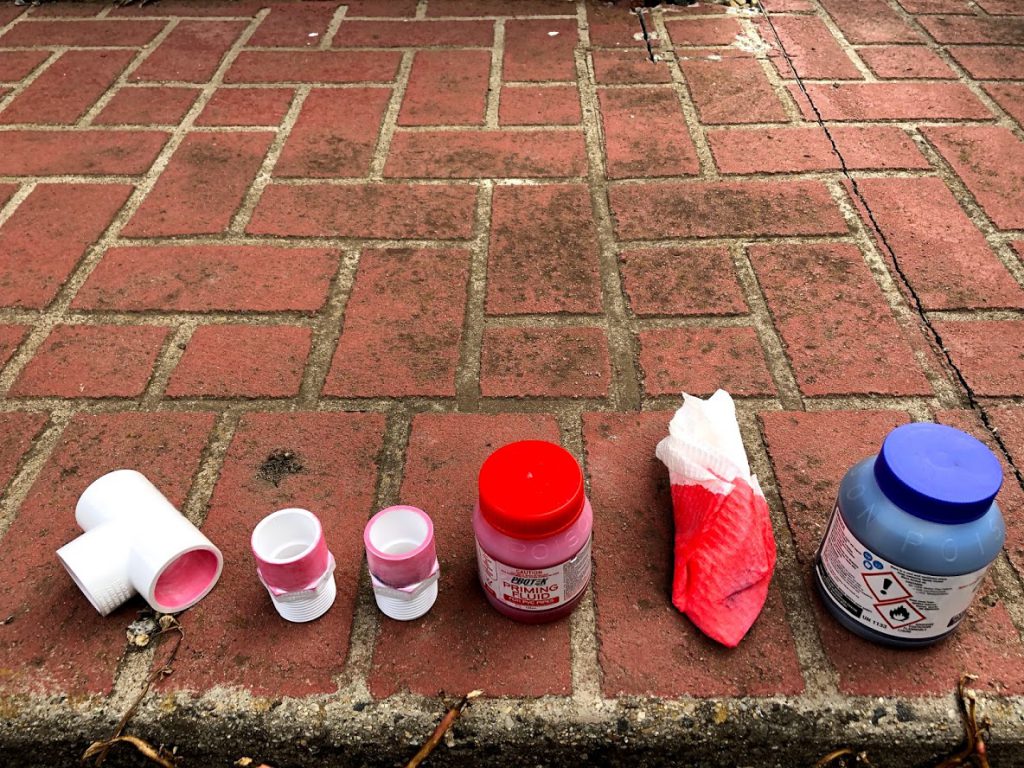
A couple of hours of cutting, test fitting, priming and gluing, the manifold was complete. I needed an extra fitting from Bunnings (3/4 to 1-inch adaptor) for the supply-to-manifold connection. I decided to let the manifold dry and continue the following morning.
Next morning, with the adaptor in hand, I connected all of the existing piping to the manifold. It was time to reach into the pocket for the phone and test a zone.
Outlet and whole-of-system leak testing
Like magic, Zone 1 (which would soon be renamed to “Hedges”) came to life. I then promptly stopped the run via the Rachio app, as several shoots of water were popping up where sprinkler heads were missing or damaged.
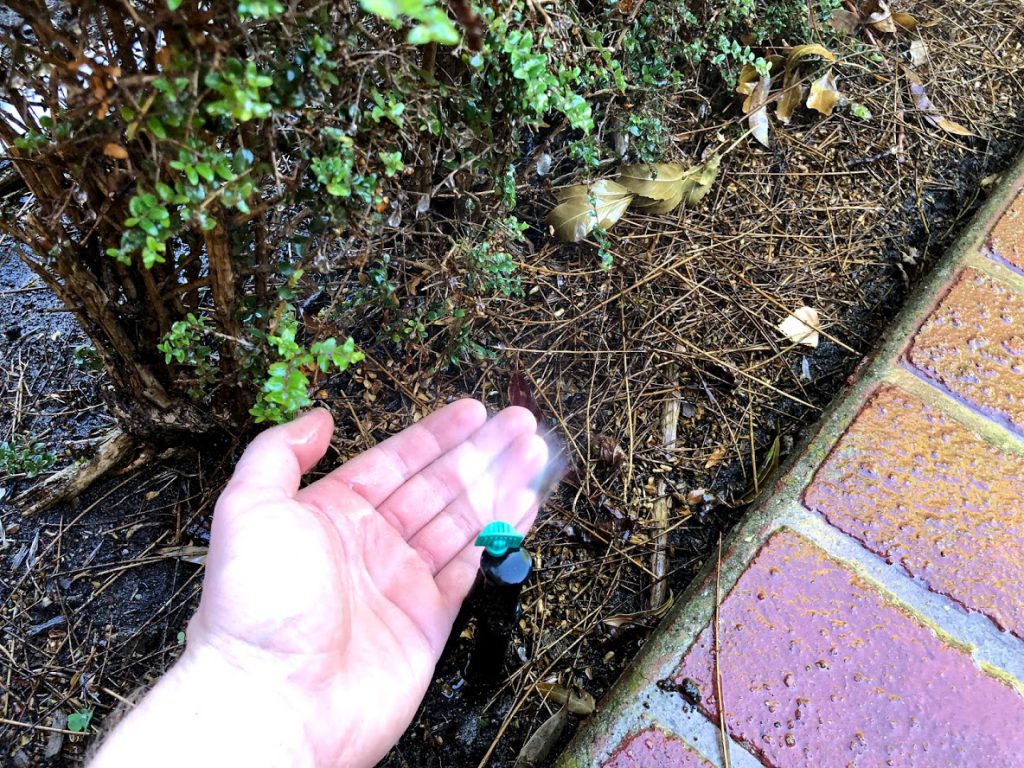
I completely underestimated this phase of the project. To make matters worse, the “Hedges” zone ended up having a faulty valve which I had to replace later in the day. It would simply stay open, even though the multi-meter sanity checks told me there was no voltage on the zone.
Each zone took about 1 hour each (5 hours in total) to fix all of the cracked pipes, blockages, missing sprinkler heads and general leaks. That is what happens with years of non-use and neglect (lawn mowing, hedge-trimming and cutting shears accidentally chopped bits of the irrigation line over time).
Covered solenoid manifold pit fit and finish
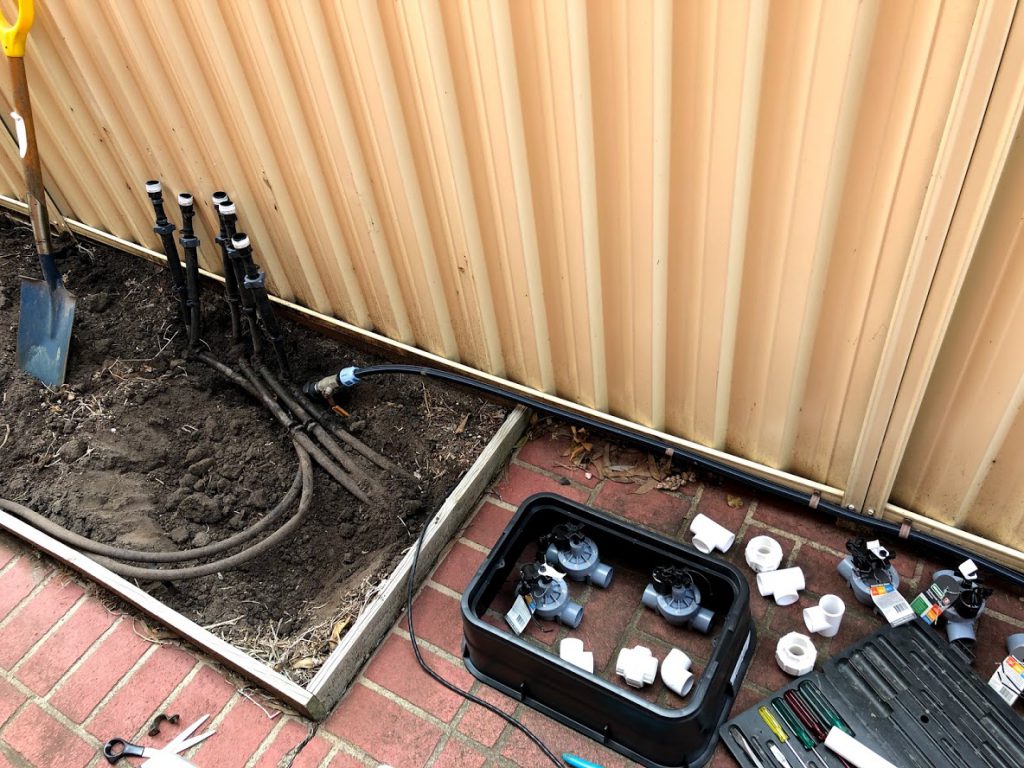
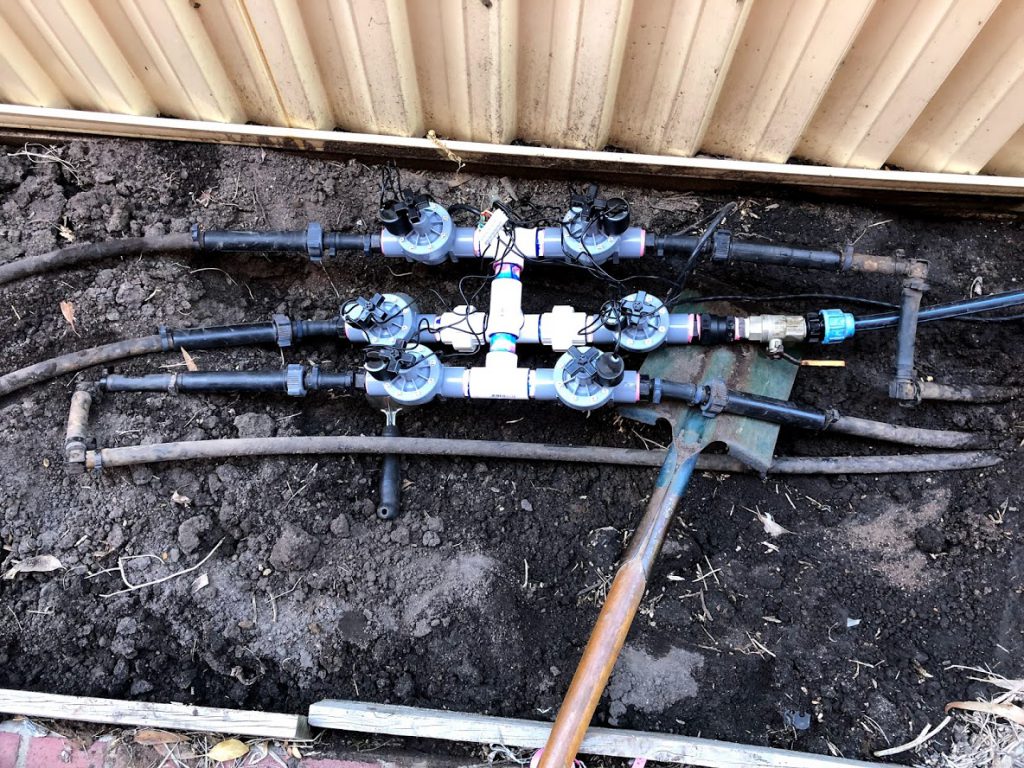
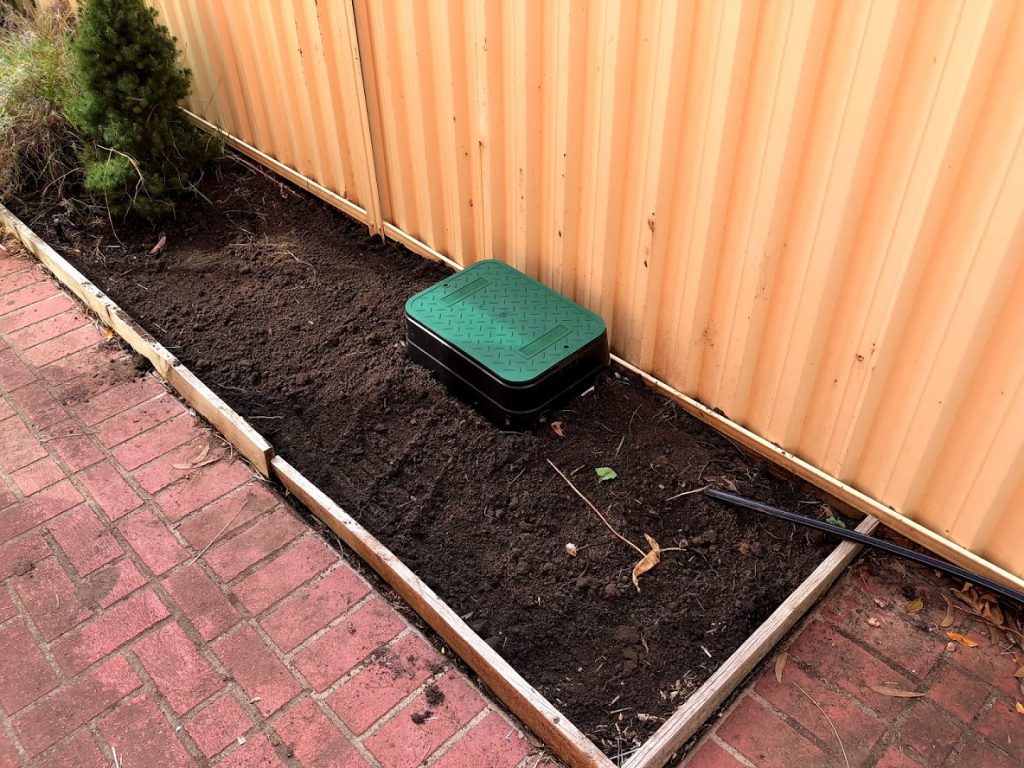
The final piece of work involved customising the solenoid manifold pit to size.
Once the pit was fitted, with the lid fitting on with ample clearance, I back-filled the soil, and completed the project.
After a quick day 1, and a long day 2, the project was complete. The Rachio zones had been renamed and photos added. The beer tasted great that evening.
Conclusion
Let me start with the “bad” points, as there are very few.
- it’s a shame that rachio.com only caters for the American and Canadian markets. Occasionally a discount code, special offer or pre-order will be e-mailed through, but I cannot take advantage from Australia (yes I know I could probably use a freight-forwarding service, but my past experiences have been mixed).
- additionally to the “caters for the American and Canadian market”, the included power supply is non 110-230v switching. It is only suitable for the 110v markets. Anyone purchasing in Australia needs to cut the cord off, place the adaptor in the bin, and connect a suitable power supply at an additional cost. Maybe the cost of including a switching adaptor is prohibitive??
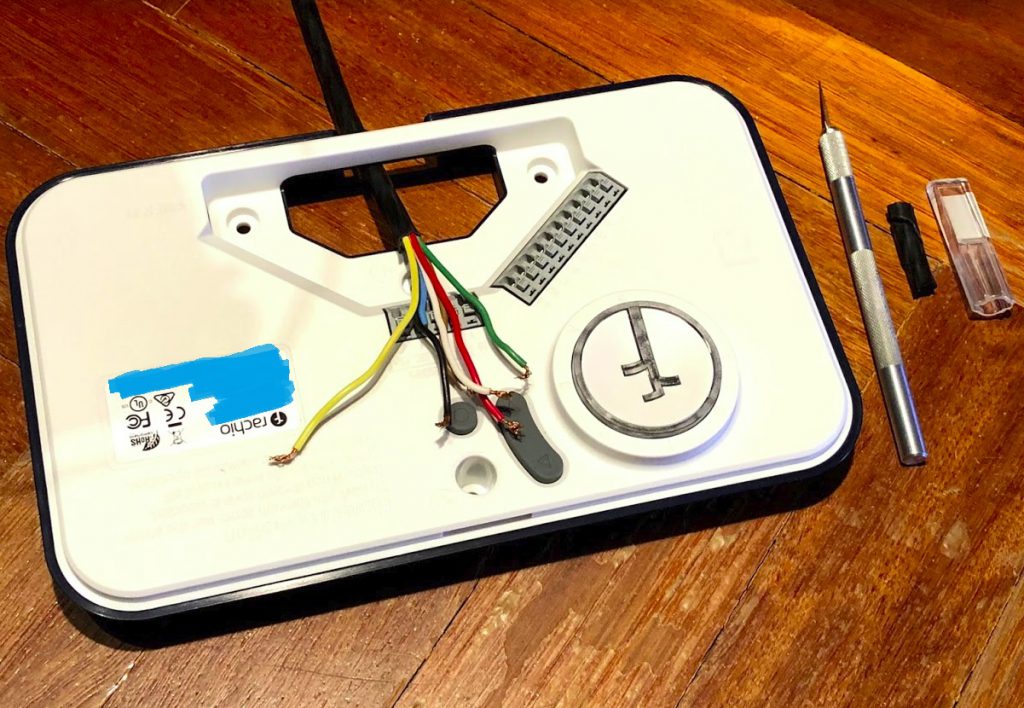
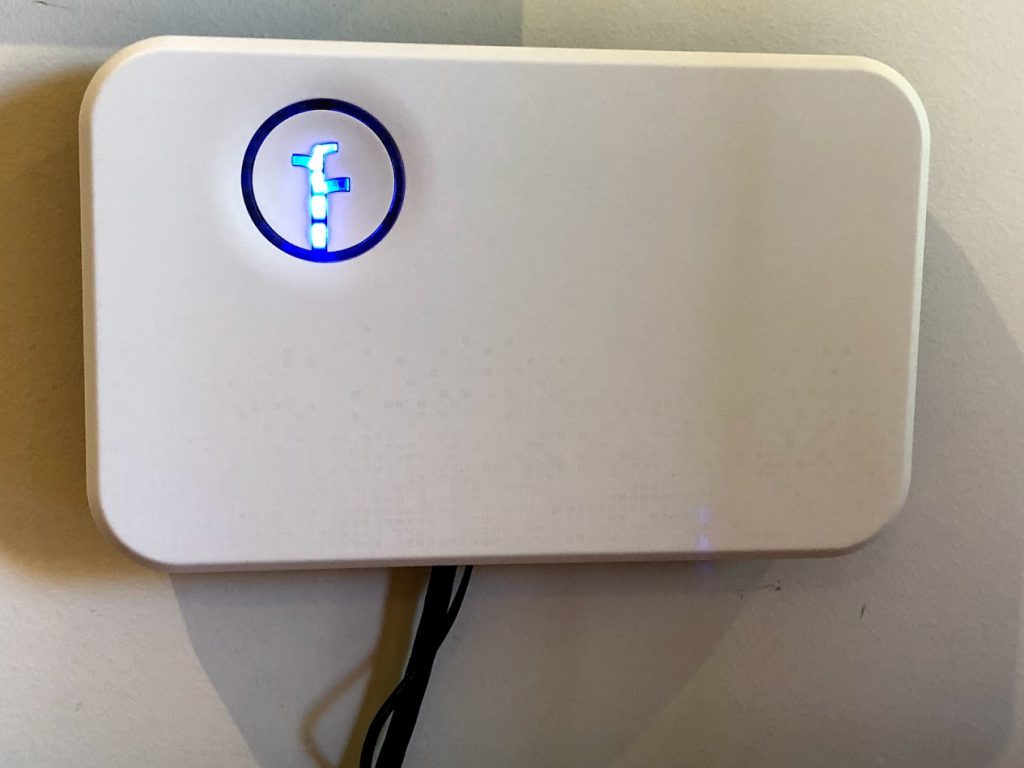
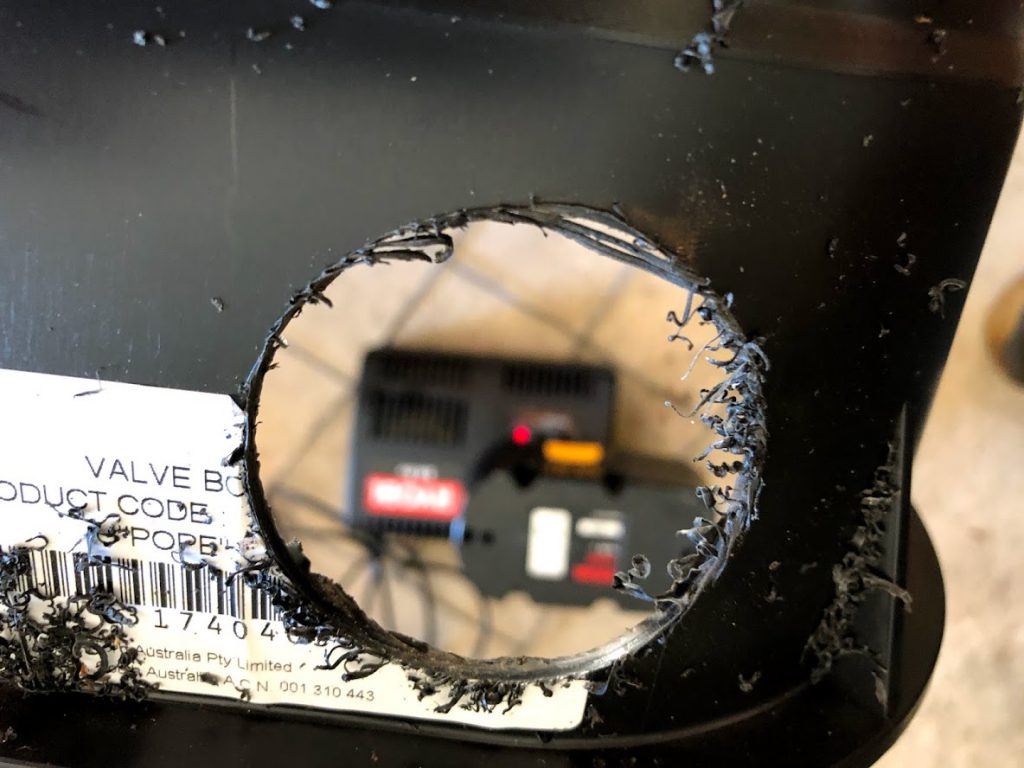
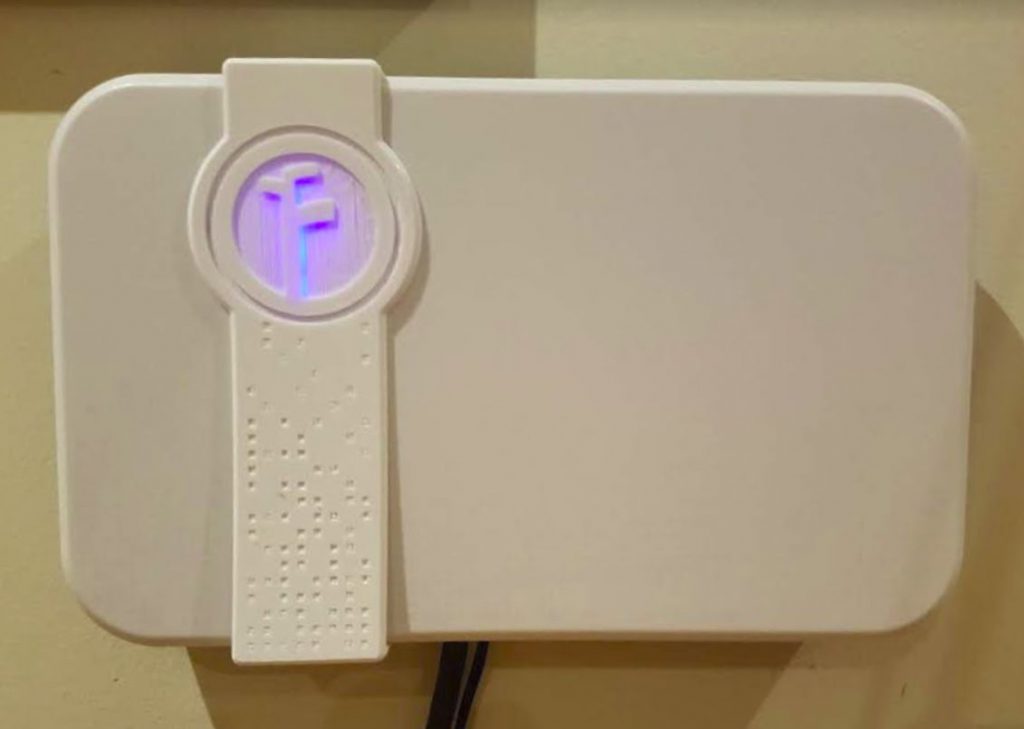
- the LED lights on the front of the unit are VERY bright and cannot be dimmed or turned off in software. In an ideal world, everyone probably installs the Rachio unit in the garage or in the outdoor enclosure. By the nature of the original legacy irrigation controller, the family member’s Rachio is installed in his study. I’ll need to cover up the light somehow, so that it doesn’t cause an unwanted distraction.
And now to the “positive” points, of which there are many.
- it just works.
- it works remotely, from anywhere with internet connectivity.
- complex schedules can be set, including rain skipping.
- rain detection can be achieved through a connected rain sensor, a main weather station, or even an enthusiast run PWS (personal weather station).
- smart watering can determine how much watering is required based on factors like plant type, soil type, gradient, sun exposure etc.
- full IoT integration with services like IFTTT, Alexa etc. Log your watering to a spreadsheet. Start watering a zone by issuing a voice command.
- full and limited delegation of watering permissions (I am a full admin of my family member’s Rachio system).
I am very happy with the outcome, and plan to purchase the Rachio Gen 3 (with flow sensor) for my own irrigation setup (greenfields, not legacy).
Happy watering!
UPDATE 4 MONTHS LATER:
The LED light problem has been “fixed” by a 3d printed cover. It looks like it is a part of the Rachio controller.
Nice job with the manifold and irrigation pit I need to do the same but imo you have been better off with a RainMachine due to weather services and PWS options.
Thank you very much for taking the time to post. The Rachio does brilliantly with smart weather services (rain, temperature and wind skips) and PWS integration (although doesn’t link directly into Netatmo or Wunderground). At the end of the day, I decided on Rachio based on the many positive reviews that I read and heard personally from others.