Does your bike have Shimano Di-2 components?
Why not consider updating your firmware the next time you’re charging the battery?
Shimano release updates to the full Di-2 component range on a regular basis. The updates deliver improvements in connectivity (SM-EW001 wireless transmitter module), deliver new capability (synchro shift anyone?), allow for new component inter-operability, and deal with general bug fixes and reliability.
I have an 11 speed Ultegra Di-2 setup, and this is the process that I follow whenever I charge my battery (roughly every 3 months).
Step 1: You need to install the Shimano e-Tube project software on a Windows based device (from the official website http://e-tubeproject.shimano.com/) I like to use my laptop, as I end up plugging in the USB charger/adaptor straight into the bike when I’m in the garage.
Step 2: Once installed, run the E-tube software. I normally double-click on the desktop shortcut.

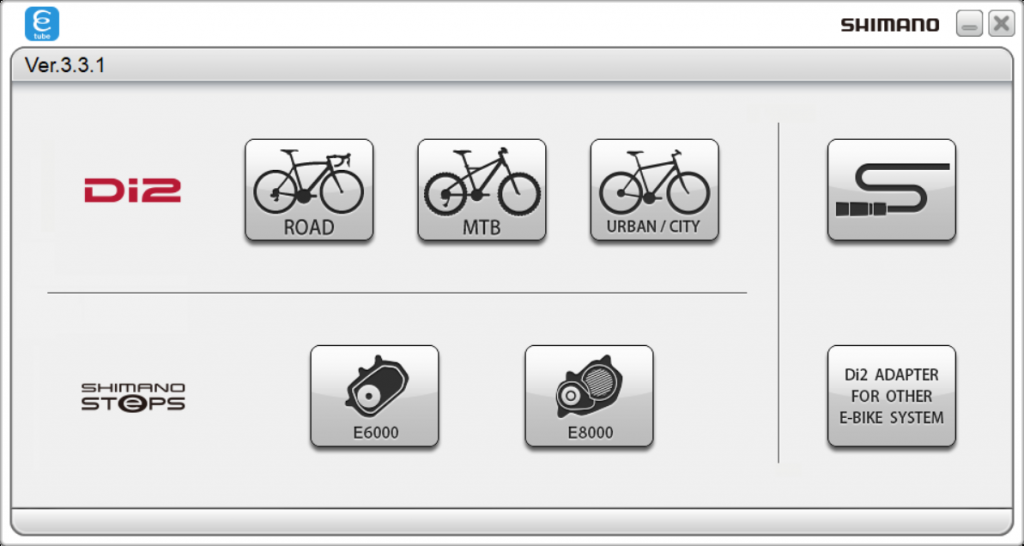
Step 3: The E-tube software will start, and you will be prompted to choose your type of bicycle. I have a road bike, so I click on ‘road’.
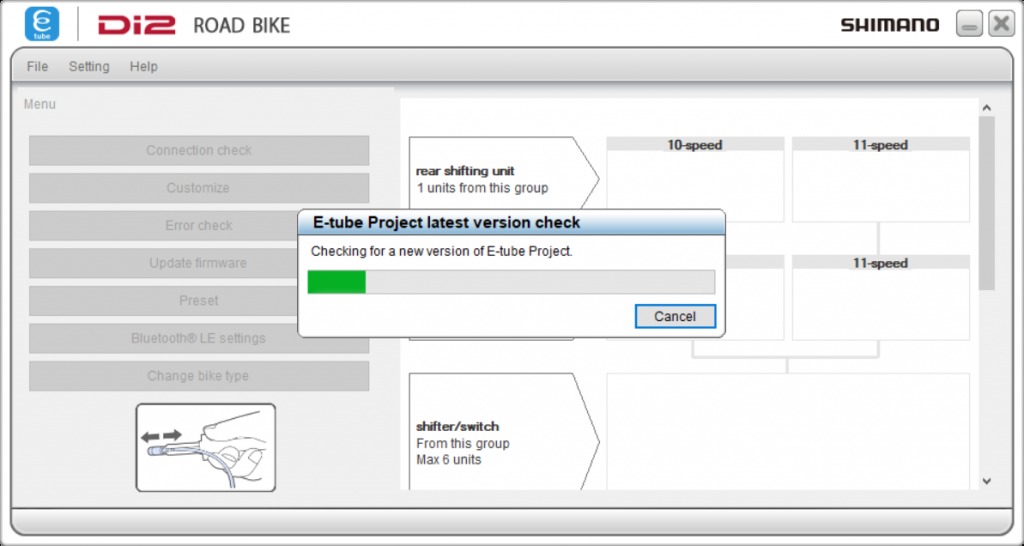
Step 4: For anyone who has previously installed the E-tube project software, an update check will determine if newer software is available. If newer software is not available, please skip to ‘Step 5’.
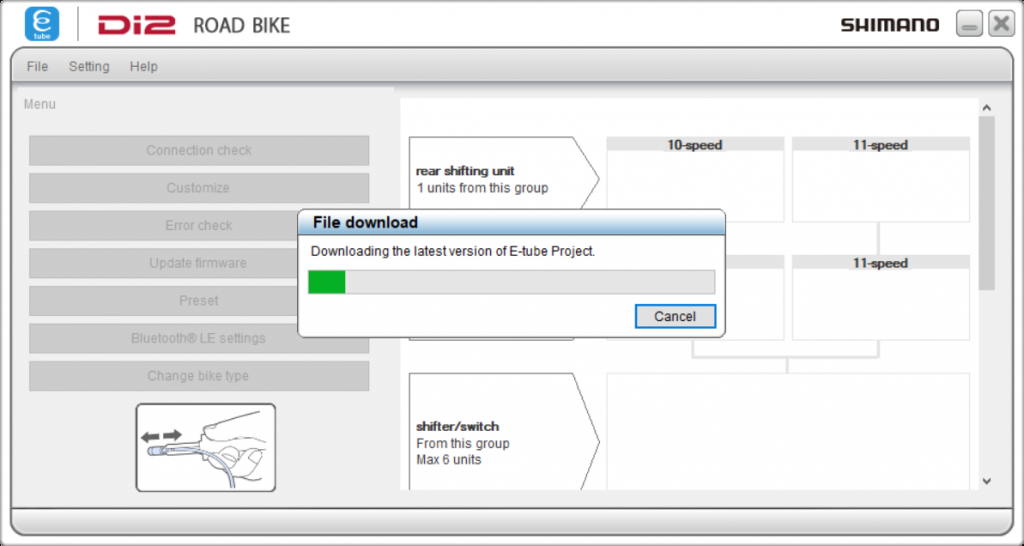
Step 4a: If a newer version of the software is found, it will be automatically downloaded.
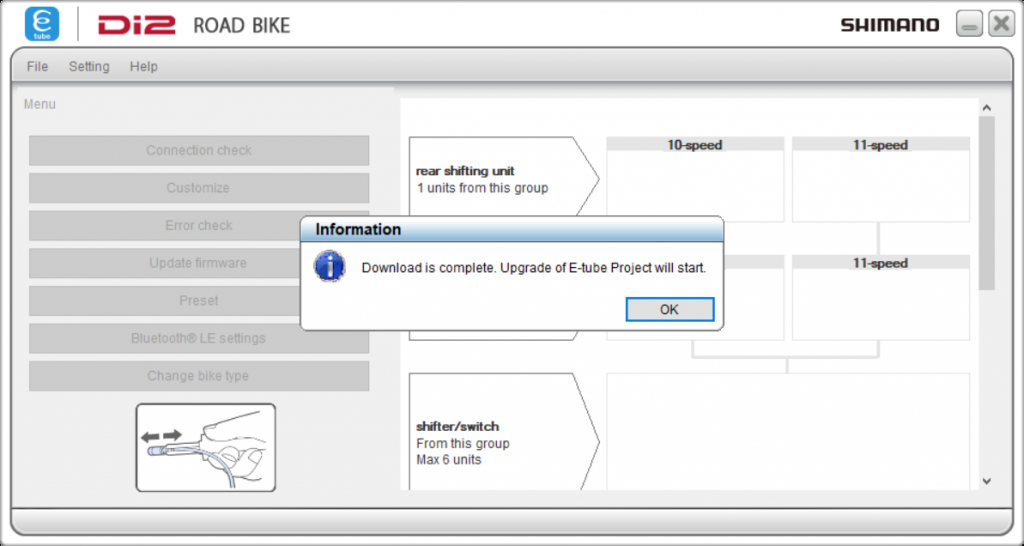
Step 4b: Once the download completes, click on ‘ok’ to begin the installation process (in-place upgrade).
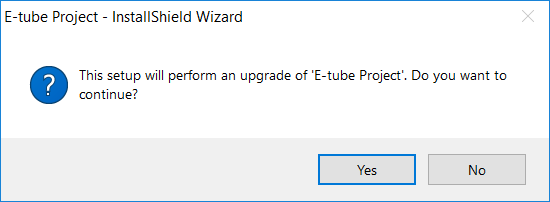
Step 4c: Click ‘Yes’ when prompted to begin the E-tube project InstallShield Wizard.
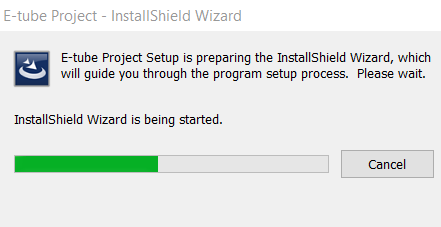
Step 4d: Wait patiently while the InstallShield Wizard initialises.
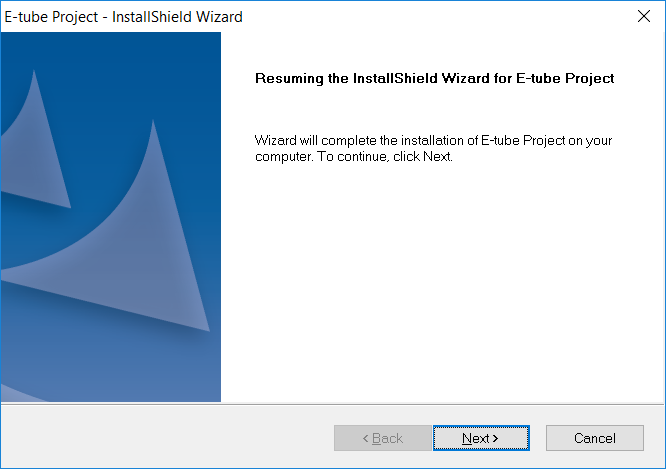
Step 4e: Click ‘next’ on the initialised InstallShield Wizard window to begin the upgrade process.
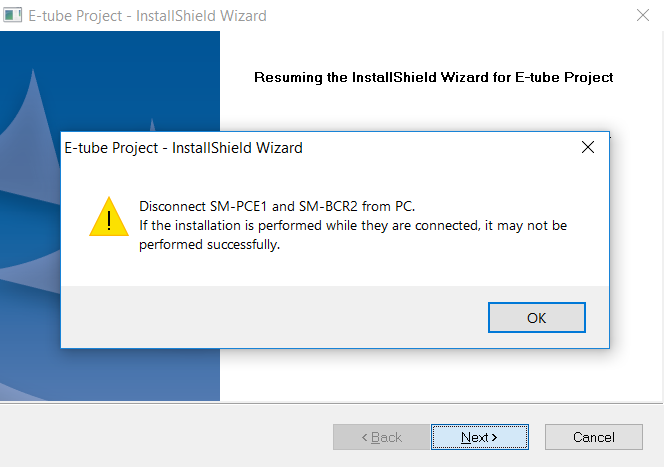
Step 4f: As per the warning message, ensure that your Shimano data interface is not plugged into your computer, and click ‘ok’.
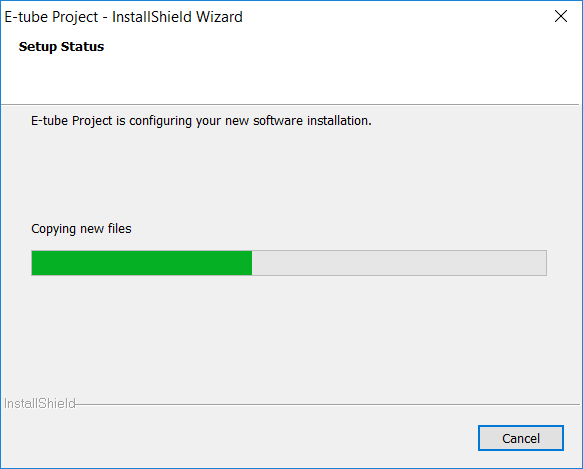
Step 4g: The installation of the Shimano E-tube project update will now occur.
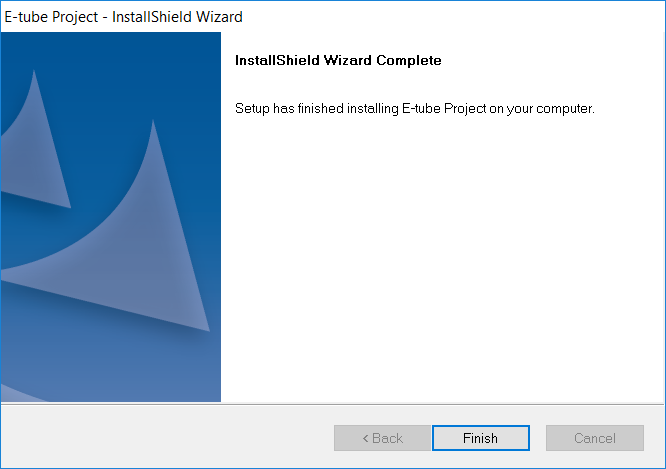
Step 4h: The installation has completed. Now click ‘Finish’ to launch the new version of the Shimano E-tube software.
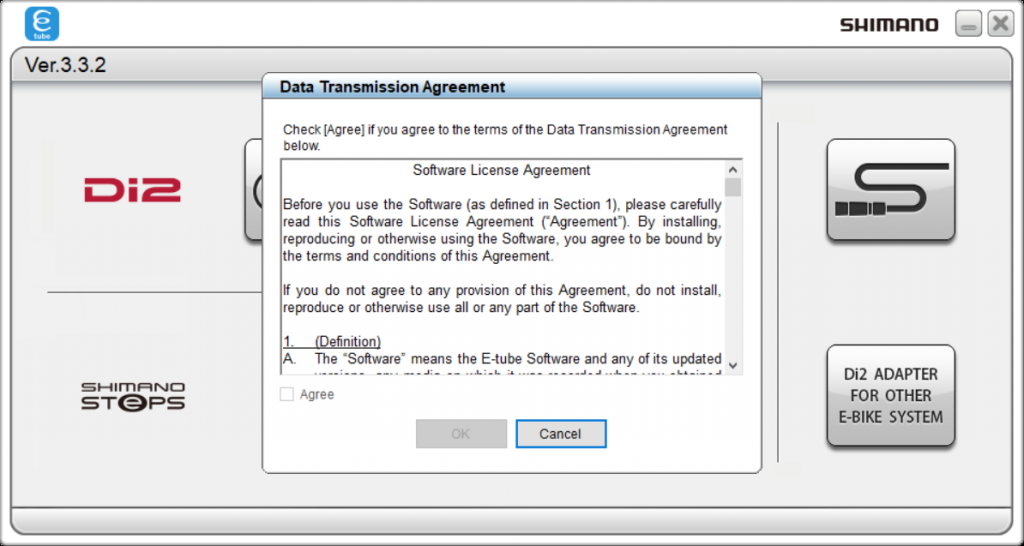
Step 4i: The new version of Shimano E-tube project will have a revised ‘data transmisson agreement’ that needs to be read and acknowledged. You can plug the data interface into your computer after agreeing to the agreement.
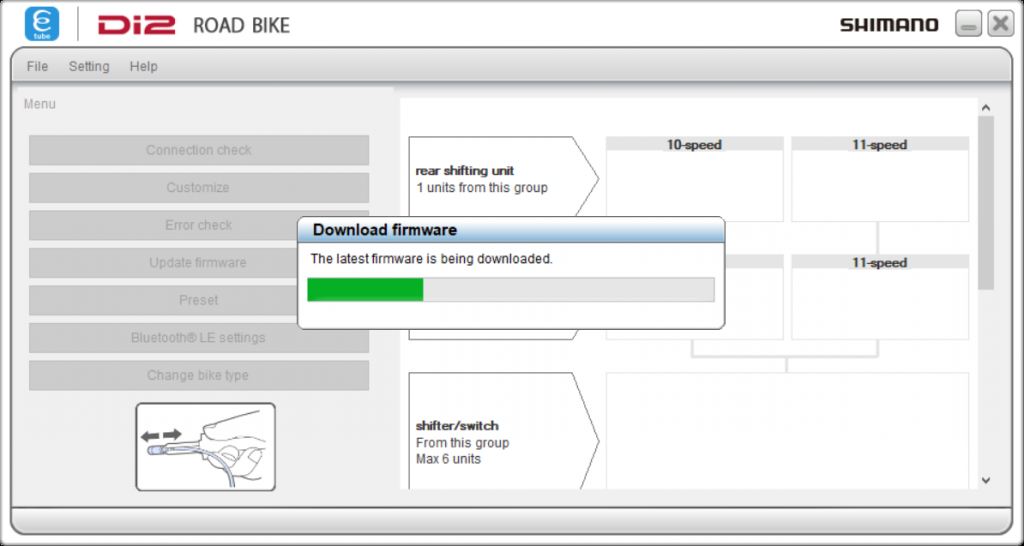
Step 5: Any available firmware updates will be downloaded automatically when you select your bicycle type.
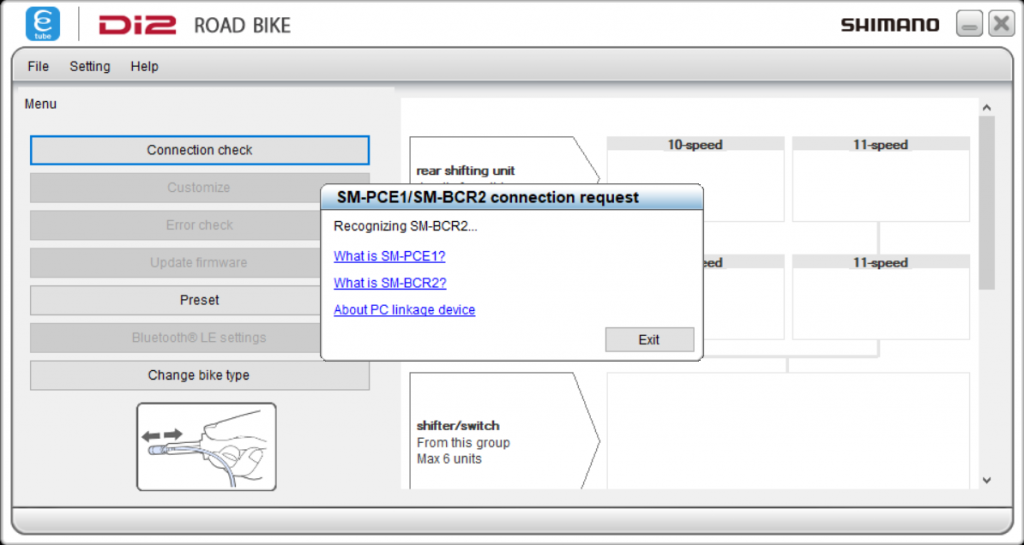
Step 6: The connection between your data interface and computer will be confirmed.
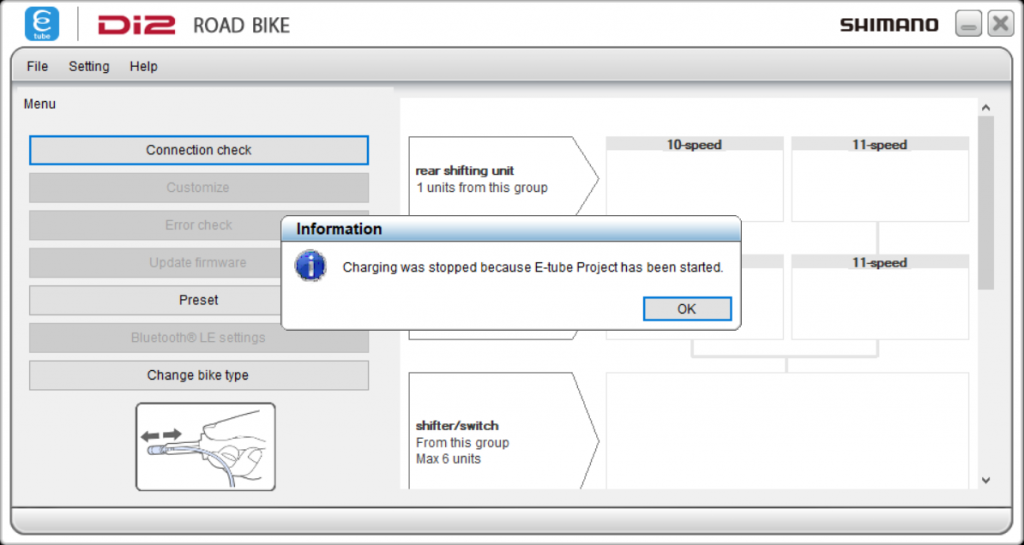
Step 7: The charging mode on the data interface will be stopped while you run the Shimano E-tube software.
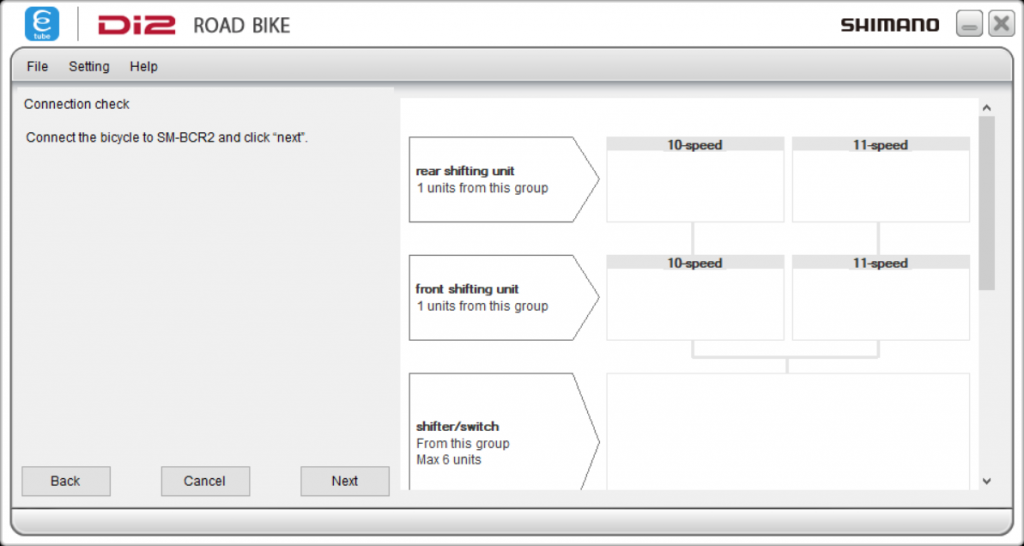
Step 8: Connect your data interface cable to your bike, and click ‘Next’.
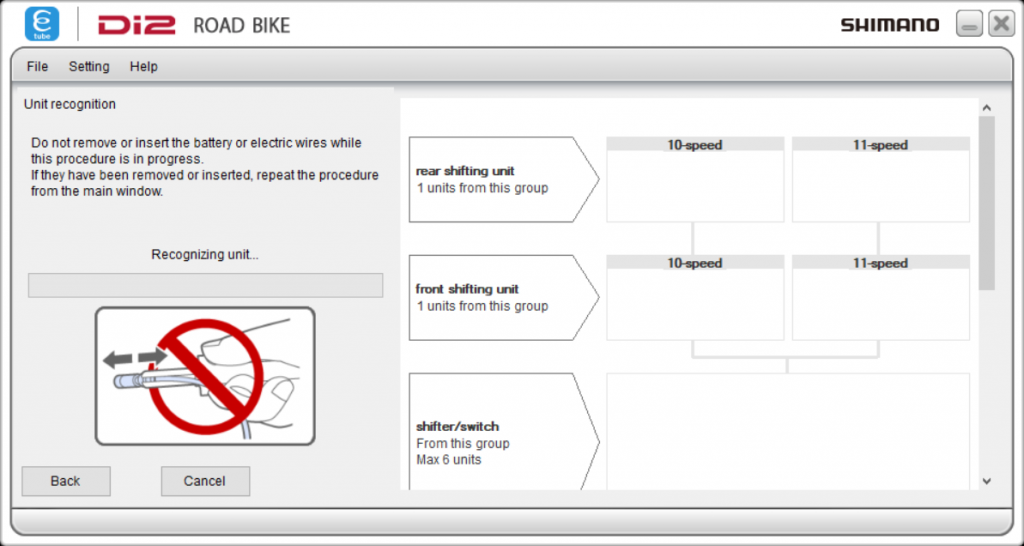
Step 9: Allow a few moments for your bike to be recognised.
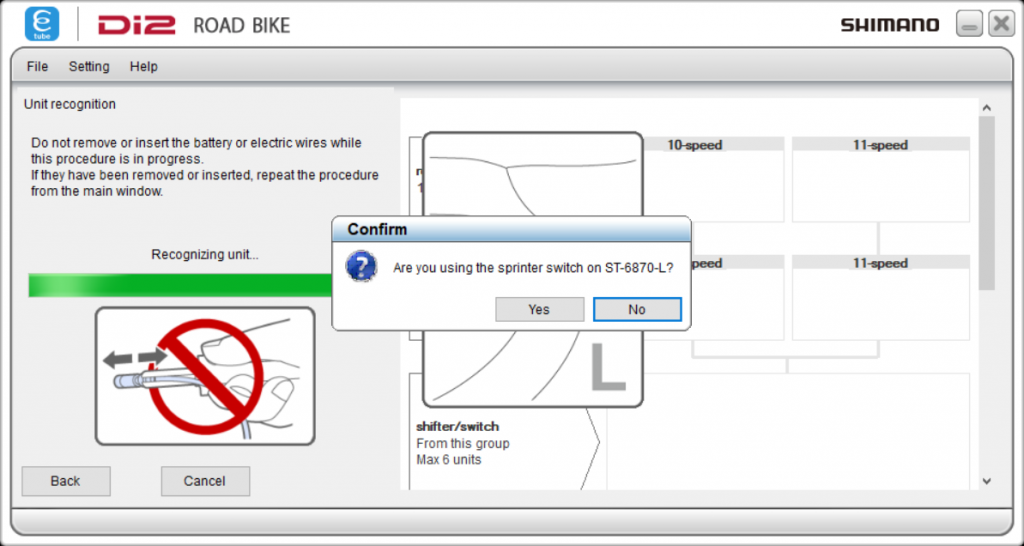
Step 10: The software may ask you some questions about your specific components. Answer appropriately when prompted.
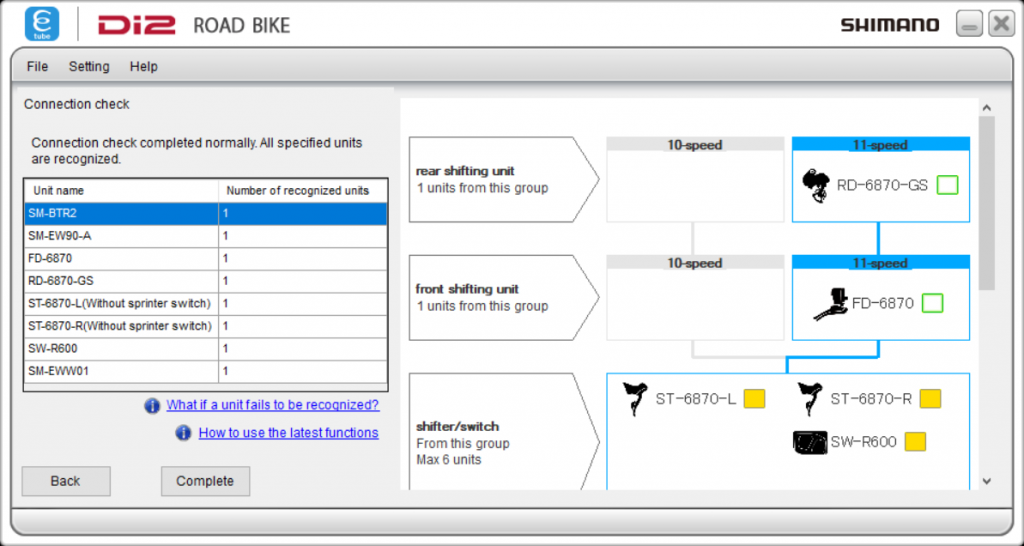
Step 11: The connection check will complete. Click ‘Complete’.
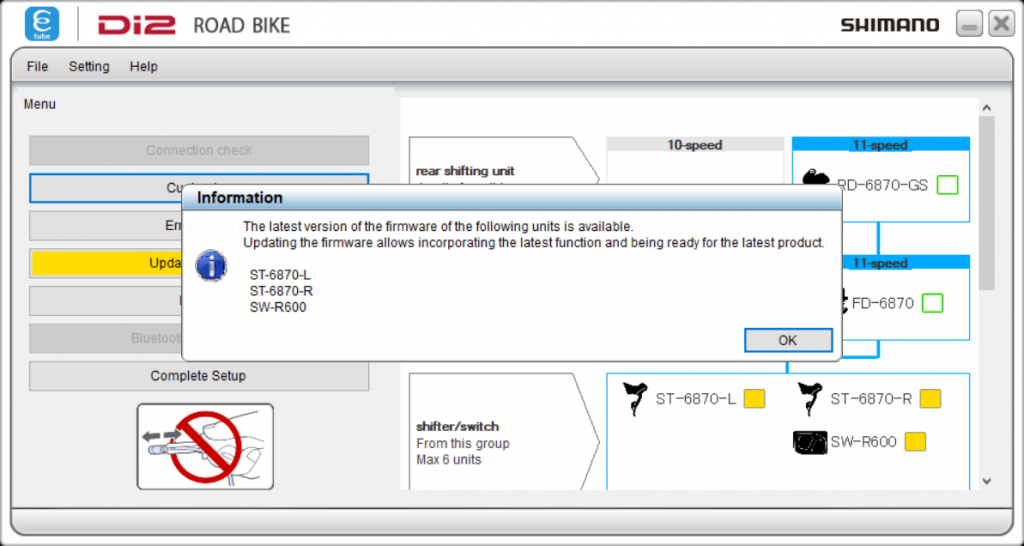
Step 12: The new firmware prompt will now appear, suggesting an immediate update for all out-of-date components. Click ‘Ok’.
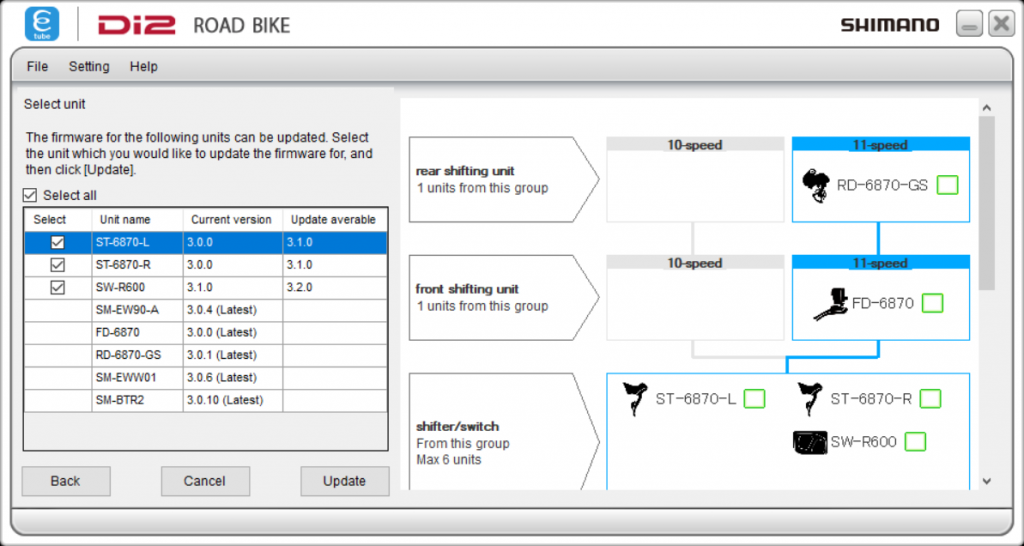
Step 13: You can now select the specific Di-2 components to firmware update. I usually leave the ‘Select all’ option checked. Click ‘Update’.
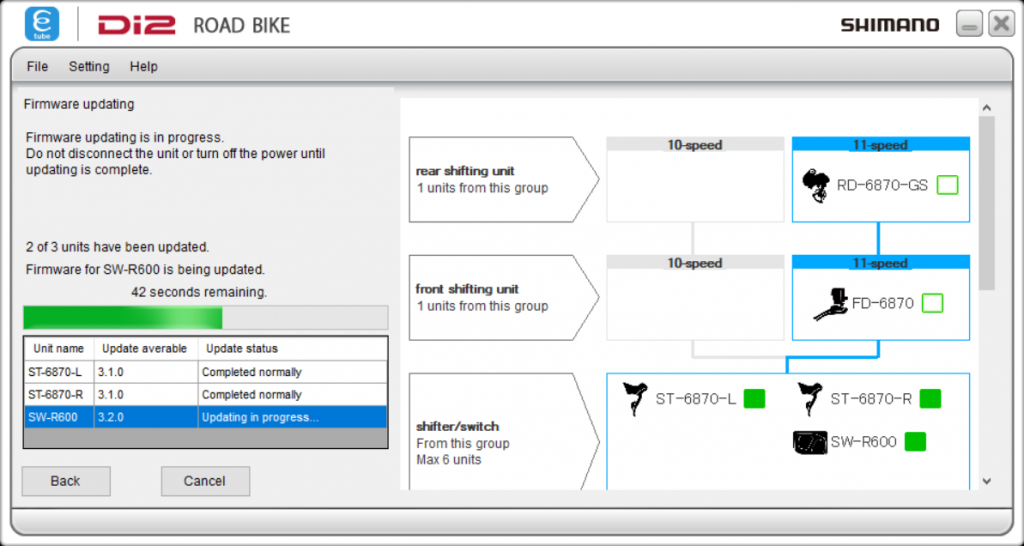
Step 14: You can now watch the progress of the firmware updates.
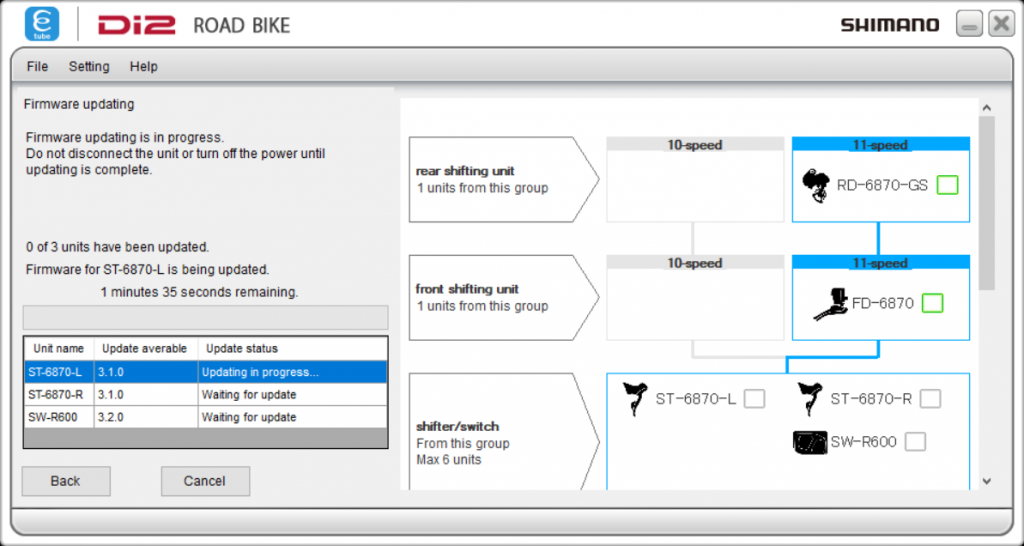
Step 15: The firmware update progress time estimate is reasonably accurate.
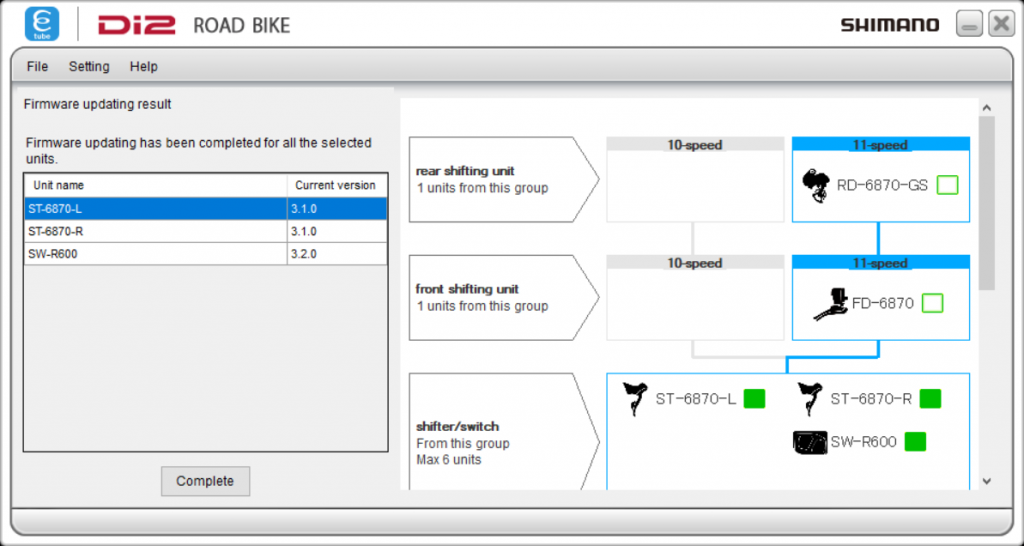
Step 16: Firmware update complete!
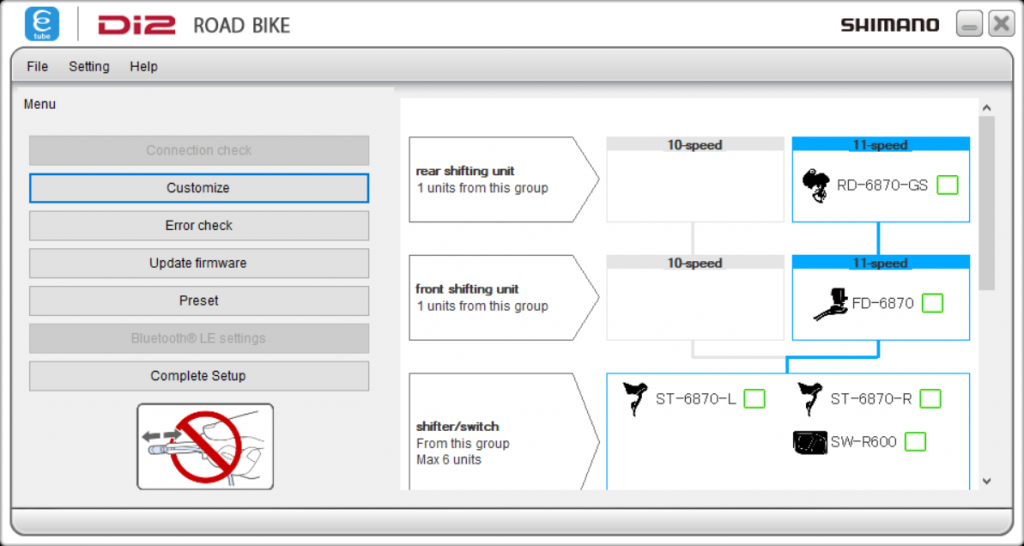
Step 17: Now that the firmware updates are complete, you can use the component dashboard to customise any components, check for errors, or to complete the setup and exit the E-tube software.
Happy Di-2-ing!